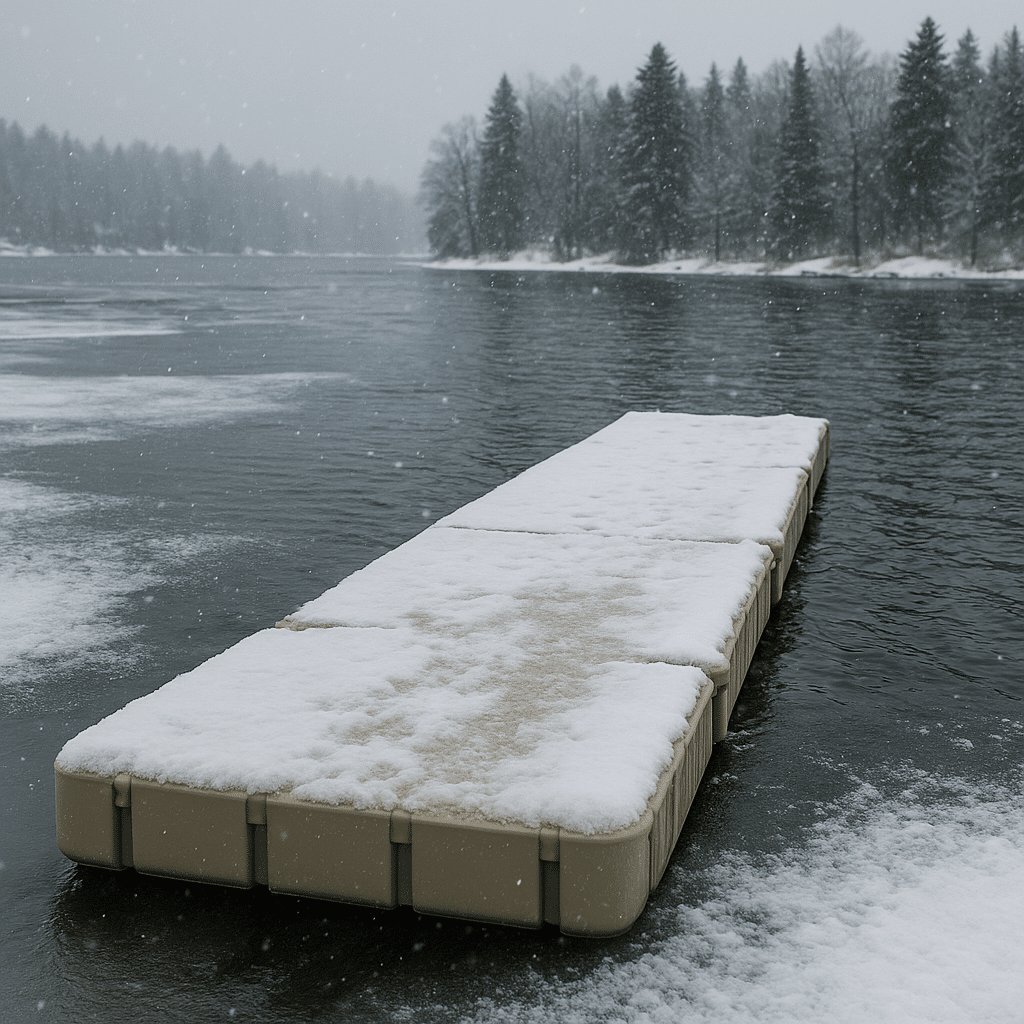
Living lakeside in Canada is beautiful, but when winter hits, your dock needs serious attention. Snow, ice, and fluctuating temperatures can wreak havoc on a floating dock if it’s not properly maintained. Whether you’re in Northwest Ontario, Saskatchewan, or Manitoba, this guide will walk you through how to protect and care for your dock all winter long.
Why Winter Maintenance Matters
Canadian winters aren’t just cold—they’re brutal. Ice expansion, snow buildup, and freeze-thaw cycles can cause stress, cracks, or full-on structural damage to a dock that isn’t prepped. Maintenance might sound like a chore, but it saves you from costly repairs or full replacements in spring.
If you live near Fort Frances, The Battlefords, or any snow-heavy lake town, staying ahead of the weather is non-negotiable. A little prevention now equals peace of mind later.
Step 1: Inspect and Clean Before Winter Hits
Before the first snowfall, take a close look at your dock. Walk the entire surface and check for:
-
Loose or missing hardware
-
Cracks or warping in the decking
-
Build-up of algae, mildew, or debris
Use a stiff brush and eco-friendly cleaner to remove grime and prevent rot or mold growth during the colder months. A clean dock dries faster and is less likely to suffer from ice-related damage.
Step 2: Decide Whether to Remove or Leave It In
Some floating docks are built to withstand freezing temperatures, while others should be removed entirely.
-
Remove it if your lake freezes deeply or you expect high ice movement. Lakes around Clearwater or Lac La Ronge often see this level of freeze. Use a winch, flotation system, or hire a service to haul it out safely.
-
Leave it in if your dock is designed with durable, ice-resistant materials and sits in a calm, protected bay.
If you’re not sure which applies to you, call a dock expert who knows the conditions in your local area.
Step 3: Protect Anchoring Systems
Your dock might stay in place through the winter, but its anchoring system shouldn’t take all the pressure. Ice shifts can pull on chains, cables, or posts.
Use flexible anchor lines that allow the dock to move with ice expansion rather than resist it. This is especially helpful in windy areas like Regina Beach or Turtle Mountain Provincial Park. Avoid rigid mounts or inflexible systems that can snap or crack when the pressure builds.
Step 4: Remove Accessories and Loose Items
Before winter locks everything in ice, remove anything that could be damaged or swept away:
-
Ladders
-
Furniture
-
Kayak launches
-
PWC ports
-
Lights and solar panels
Storing these in a dry, sheltered place prevents rust, freezing, and unnecessary wear. Bonus: It also makes spring setup easier.
Step 5: Mark Your Dock for Visibility
If your dock stays in the water, visibility is critical, especially if your area sees snowmobiles or ice fishing traffic.
Add reflective tape, buoys, or a flagpole to help people see your dock even when it’s snow-covered. This isn’t just smart—it can prevent accidents and liability issues.
Step 6: Monitor Throughout the Season
Even after your dock is winterized, it pays to check on it occasionally. If you live near the lake or visit during the off-season, take a walk or snowmobile out to see how it’s holding up.
Look for signs of:
-
Ice pushing or shifting
-
Broken anchor lines
-
Damage from wildlife or fallen limbs
Catching a problem early could save your dock—and your wallet.
Conclusion: A Little Winter Work Goes a Long Way
Dock maintenance might not be the most exciting part of owning a lakefront property, but it’s one of the most important. With the right steps, you can protect your investment and enjoy your dock for years to come—even with the toughest winters Canada throws your way.
Need help winterizing your dock or not sure if yours should come out for the season? The team at Nor Col Docks knows local conditions inside and out. Reach out at norcoldocks.com/contact or message them directly on Facebook at facebook.com/NorColEZDock for expert, region-specific advice.


